JavaScript / TypeScript App
Create a log
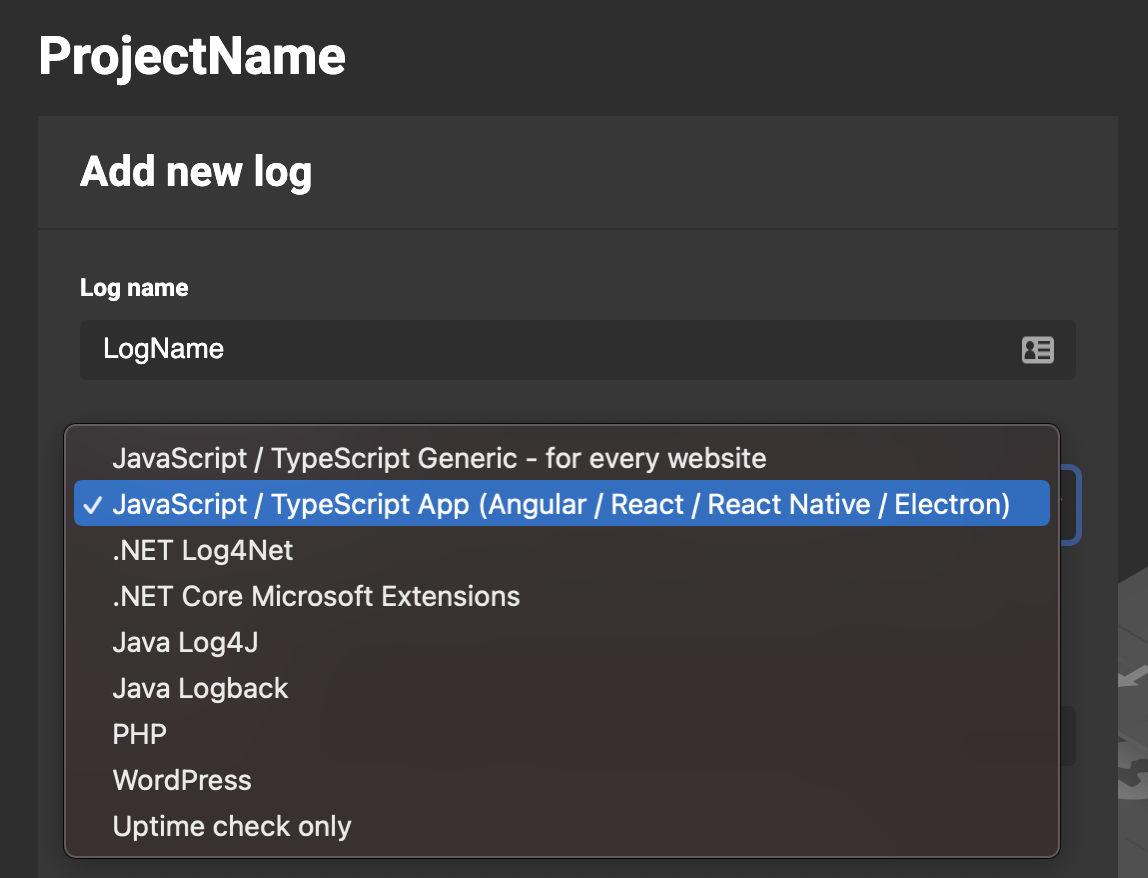
Be sure to check out the Get Started section for information on how to register for an account and create your first log. While creating your log choose “JavaScript / TypeScript Generic - for every website” option in “Language and framework” select field.

Install Muscula appender
You can install Muscula on your JavaScript / TypeScript Application using the npm package. Run this command from your application directory:
Open index.js / index.ts / main.ts file of your Application and add an import statement:
npm install --save @muscula.com/muscula-webapp-js-loggerInitialize Muscula
Open index.js / index.ts / main.ts file of your Application and add an import statement:
npm install --save @muscula.com/muscula-webapp-js-loggerThen initialize Muscula by adding the code below at Application startup.
MusculaLog.Init(LOG_ID);Remember to replace "LOG_ID" with your current LOG ID. If you place code directly from Muscula Application LOG ID will be filled. Click here to see instructions on how to find your LOG ID in Mucula App.
If you were using Muscula logging in versions prior to 1.2.0 please change import line from:
import * as MusculaLog from '@muscula.com/muscula-webapp-js-logger';to:
import MusculaLog from '@muscula.com/muscula-webapp-js-logger';Without that change you'll se errors like:
Property 'Error' does not exist on type 'typeof import("muscula-webapp-js-logger/dist/index")'
Property 'Init' does not exist on type 'typeof import("muscula-webapp-js-logger/dist/index")'
Logging methods
Below you will find a list of all the methods for logging in Muscula.
MusculaLog.Fatal(message: string, exception?: Error, info?: any);
MusculaLog.Error(message: string, exception?: Error, info?: any);
MusculaLog.Info(message: string, info?: any);
MusculaLog.Warning(message: string, info?: any);
MusculaLog.Debug(message: string, info?: any);
MusculaLog.Trace(message: string, info?: any);
"Message" parameter is a title of a log that will be shown in Muscula App and is required to provide in all methods. "Exception" is an Error object, this parameter is optional and possible to provide only in the Fatal and Error methods. "Info" parameter allow you to pass own data into Muscula system as "info" object. Your info object may look like this: {userId: 'user1', 'basketAmount': 0}.
Usage in JavaScript / TypeScript / React / Vue
For usage instructions for Angular see the section below.
Your current LOG ID is already embedded in the code below, copy the code using the copy tool in the top right corner of the code box.
Before using any of the logging methods, import Muscula Logger at the top of the file in which you need to use it with the import statement:
import MusculaLog from '@muscula.com/muscula-webapp-js-logger';Then use it like
try {
     throw new Error('Error');
} catch(exception) {
     MusculaLog.Error('Something wrong', exception, {userId: '123'});
}
Usage for Angular
Before using any of the logging methods, import Muscula Logger at the top of the file in which you need to use it with the import statement:.
Your current LOG ID is already embedded in the code below, copy the code using the copy tool in the top right corner of the code box.
import MusculaLog from '@muscula.com/muscula-webapp-js-logger';Create custom error handler. This way you will enable Muscula to intercept exception handling.
import {ErrorHandler, NgModule} from '@angular/core';
import MusculaLog from '@muscula.com/muscula-webapp-js-logger';

export class MusculaErrorHandler implements ErrorHandler {
  handleError(error: any) {
    console.log(error);
    //Report error to Muscula
    MusculaLog.Error(error.toString(), error);
  }
}
Then create HTTP interceptor that will report error to Muscula:
import { HttpEvent, HttpInterceptor, HttpHandler, HttpRequest, HttpErrorResponse } from '@angular/common/http';
import { Observable, throwError } from 'rxjs';
import { catchError } from 'rxjs/operators';
import MusculaLog from '@muscula.com/muscula-webapp-js-logger';

export class MusculaHttpErrorInterceptor implements HttpInterceptor {
  intercept(request: HttpRequest<any>, next: HttpHandler): Observable<HttpEvent<any>> {
    return next.handle(request)
      .pipe(
        catchError((error: HttpErrorResponse) => {
          //Report error to Muscula
          MusculaLog.Error(error.message, error);

          let errorMsg = '';
          if (error.error instanceof ErrorEvent) {
            console.log('this is client side error');
            errorMsg = `Error: ${error.error.message}`;
          }
          else {<p className="text-sm">
                    If you can’t find what you're looking for, <Link to="/support/"
                            className="text-grassgreen hover:underline">
                    contact us
                        </Link> and we will update the documentation. Thanks, and enjoy Muscula!
                    </p>
            console.log('this is server side error');
            errorMsg = `Error Code: ${error.status},  Message: ${error.message}`;
          }
          console.log(errorMsg);

          return throwError(errorMsg);
        })
      )
  }
}
The last step is to enable Muscula modules in app.module.ts. Import created in previous steps classes (MusculaErrorHandler and MusculaHttpErrorInterceptor) into AppModule and add them to the "providers" array like this :
import {ErrorHandler, NgModule} from '@angular/core';
import {BrowserModule} from '@angular/platform-browser';
import {AppComponent} from './app.component';
import {MusculaErrorHandler} from '../muscula/MusculaErrorHandler';
import {HTTP_INTERCEPTORS} from '@angular/common/http';
import {MusculaHttpErrorInterceptor} from '../muscula/MusculaHttpInterceptor';

@NgModule({
  declarations: [
    AppComponent
  ],
  imports: [
    BrowserModule
  ],


  providers: [
    //Provide error Handler for Muscula
    {provide: ErrorHandler, useClass: MusculaErrorHandler},
    //Provide http error interceptor for Muscula
    {provide: HTTP_INTERCEPTORS, useClass: MusculaHttpErrorInterceptor, multi: true}],
  bootstrap: [AppComponent]
})
export class AppModule { }
Usage for React with Error Boundary Handler
Install react-error-boundary hook. Please refer to it's documentation:https://www.npmjs.com/package/react-error-boundary
npm install --save react-error-boundaryCreate React Component With Error Boundary.
const logError = (error: Error, info: {componentStack: string}): void => {
  MusculaLog.Error(error.message, error, info);
};

export const AppWithErrorWrapper: FC = () => {
  return (
    <ErrorBoundary fallbackRender={(props) => <div>Error</div>} onError={logError}>
      <App />
    </ErrorBoundary>
  );
};
You can use this component on top level of your application. In example in index.ts.
Structural logging
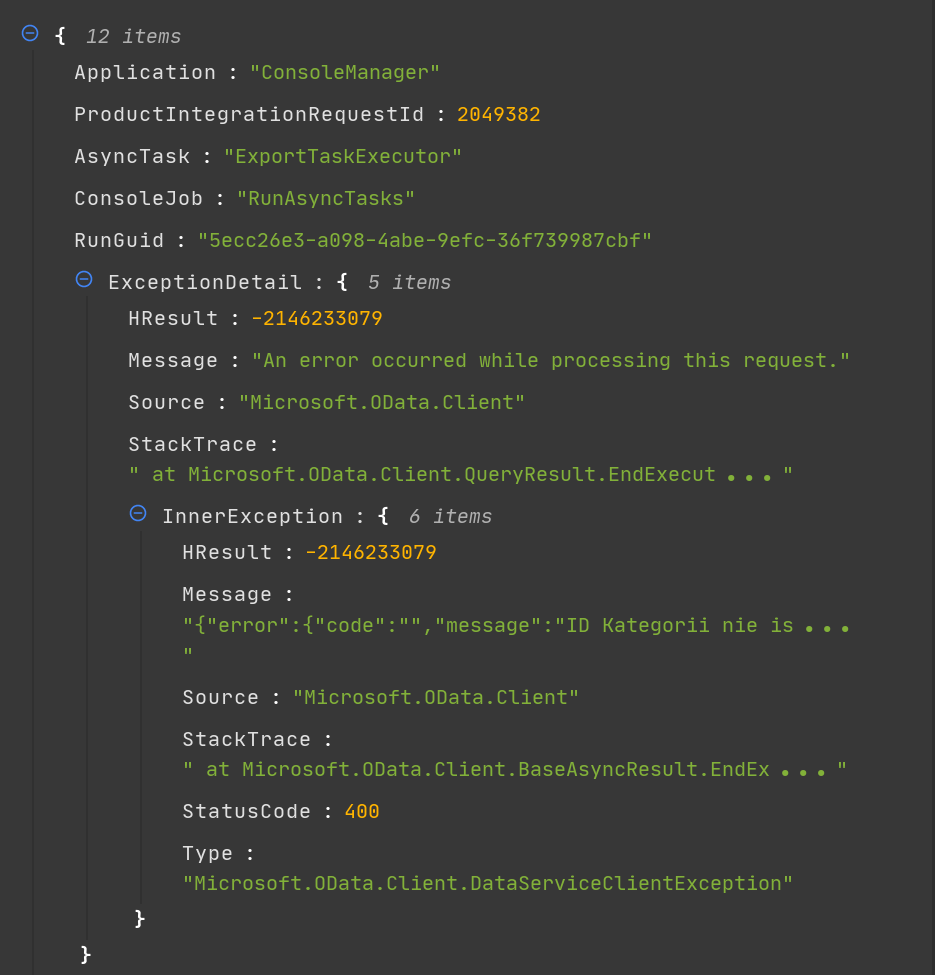
You can pass any data alongside your log message. On example below we are sending additional data alongside error.
import MusculaLog from '@muscula.com/muscula-webapp-js-logger';
MusculaLog.Error('Invalid data', exception,
    {
        Application: 'ConsoleManager',
        ProductIntegrationRequestId: 2049382,
        AsyncTask: 'ExportTaskExecutor'
    });
After this you will see in error details all data sent:

If you can’t find what you're looking for, contact us and we will update the documentation. Thanks, and enjoy Muscula!